These turned out delicious. They are super flavorful.
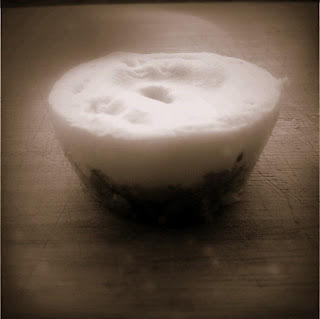
Mini Vegan Limoncello Cheesecake
Preheat your oven to 350 and lightly grease and flour 24 mini muffin cups.
Crust:
1 Cup ground walnuts
2 Tablespoon Sugar
4 Tablespoons Flour
4 Tablespoons Coconut Oil- Melted ( you can use a vegan margarine)
2 Tablespoon Sugar
4 Tablespoons Flour
4 Tablespoons Coconut Oil- Melted ( you can use a vegan margarine)
Grind up walnuts in a food processor or blender. ( if you have almond meal sitting around your house you can use that instead. I did not because my sister is very allergic and my parents would get mad if I killed her). Combine all the ingredients in a small bowl and mix until everything is moist and crumbly. Divide up the mixture in your prepped muffin tins and press them into the bottom of each cup. Store in the freezer as you make the filling.
Filling:
16 Ounces (2 Cup or 2 Container) Tofutti “Cream Cheese”
4 Tablespoons Cornstarch
1/2Cup Granulated Sugar
2/3 Cup Limoncello ( Used my homemade limoncello)
1/2 Teaspoon Vanilla Extract
4 Tablespoons Cornstarch
1/2Cup Granulated Sugar
2/3 Cup Limoncello ( Used my homemade limoncello)
1/2 Teaspoon Vanilla Extract
Beat together the “cream cheese,” corn starch, and sugar with your mixer on low speed, or with a wide spatula, until smooth. Pour in the limoncello and vanilla, mixing until thoroughly combined. Distribute the filling between all of your crust-lined cupcakes, and bake for 15 – 20 minutes. Like a standard cheesecake, they will seem very loose when fresh out of the oven, but continue to firm up as they cool, so be careful not to over bake them. The cheesecake bites will puff significantly in the oven, but will fall as they cool.
After chilling in the fridge for at least an hour, slip a thin paring knife down the sides of each cheesecake bite and use it as a lever to remove them. Serve chilled or at room temperature.
Makes 24
Alternate ideas:
Corn blackberry (cornmeal instead of flour and blackberry cordial instead of limoncello)
Chocolate Kahlua ( add cocoa powder to the crust and kahlua instead of limoncello)


